How To Master The Art Of Creating Caramel Apples
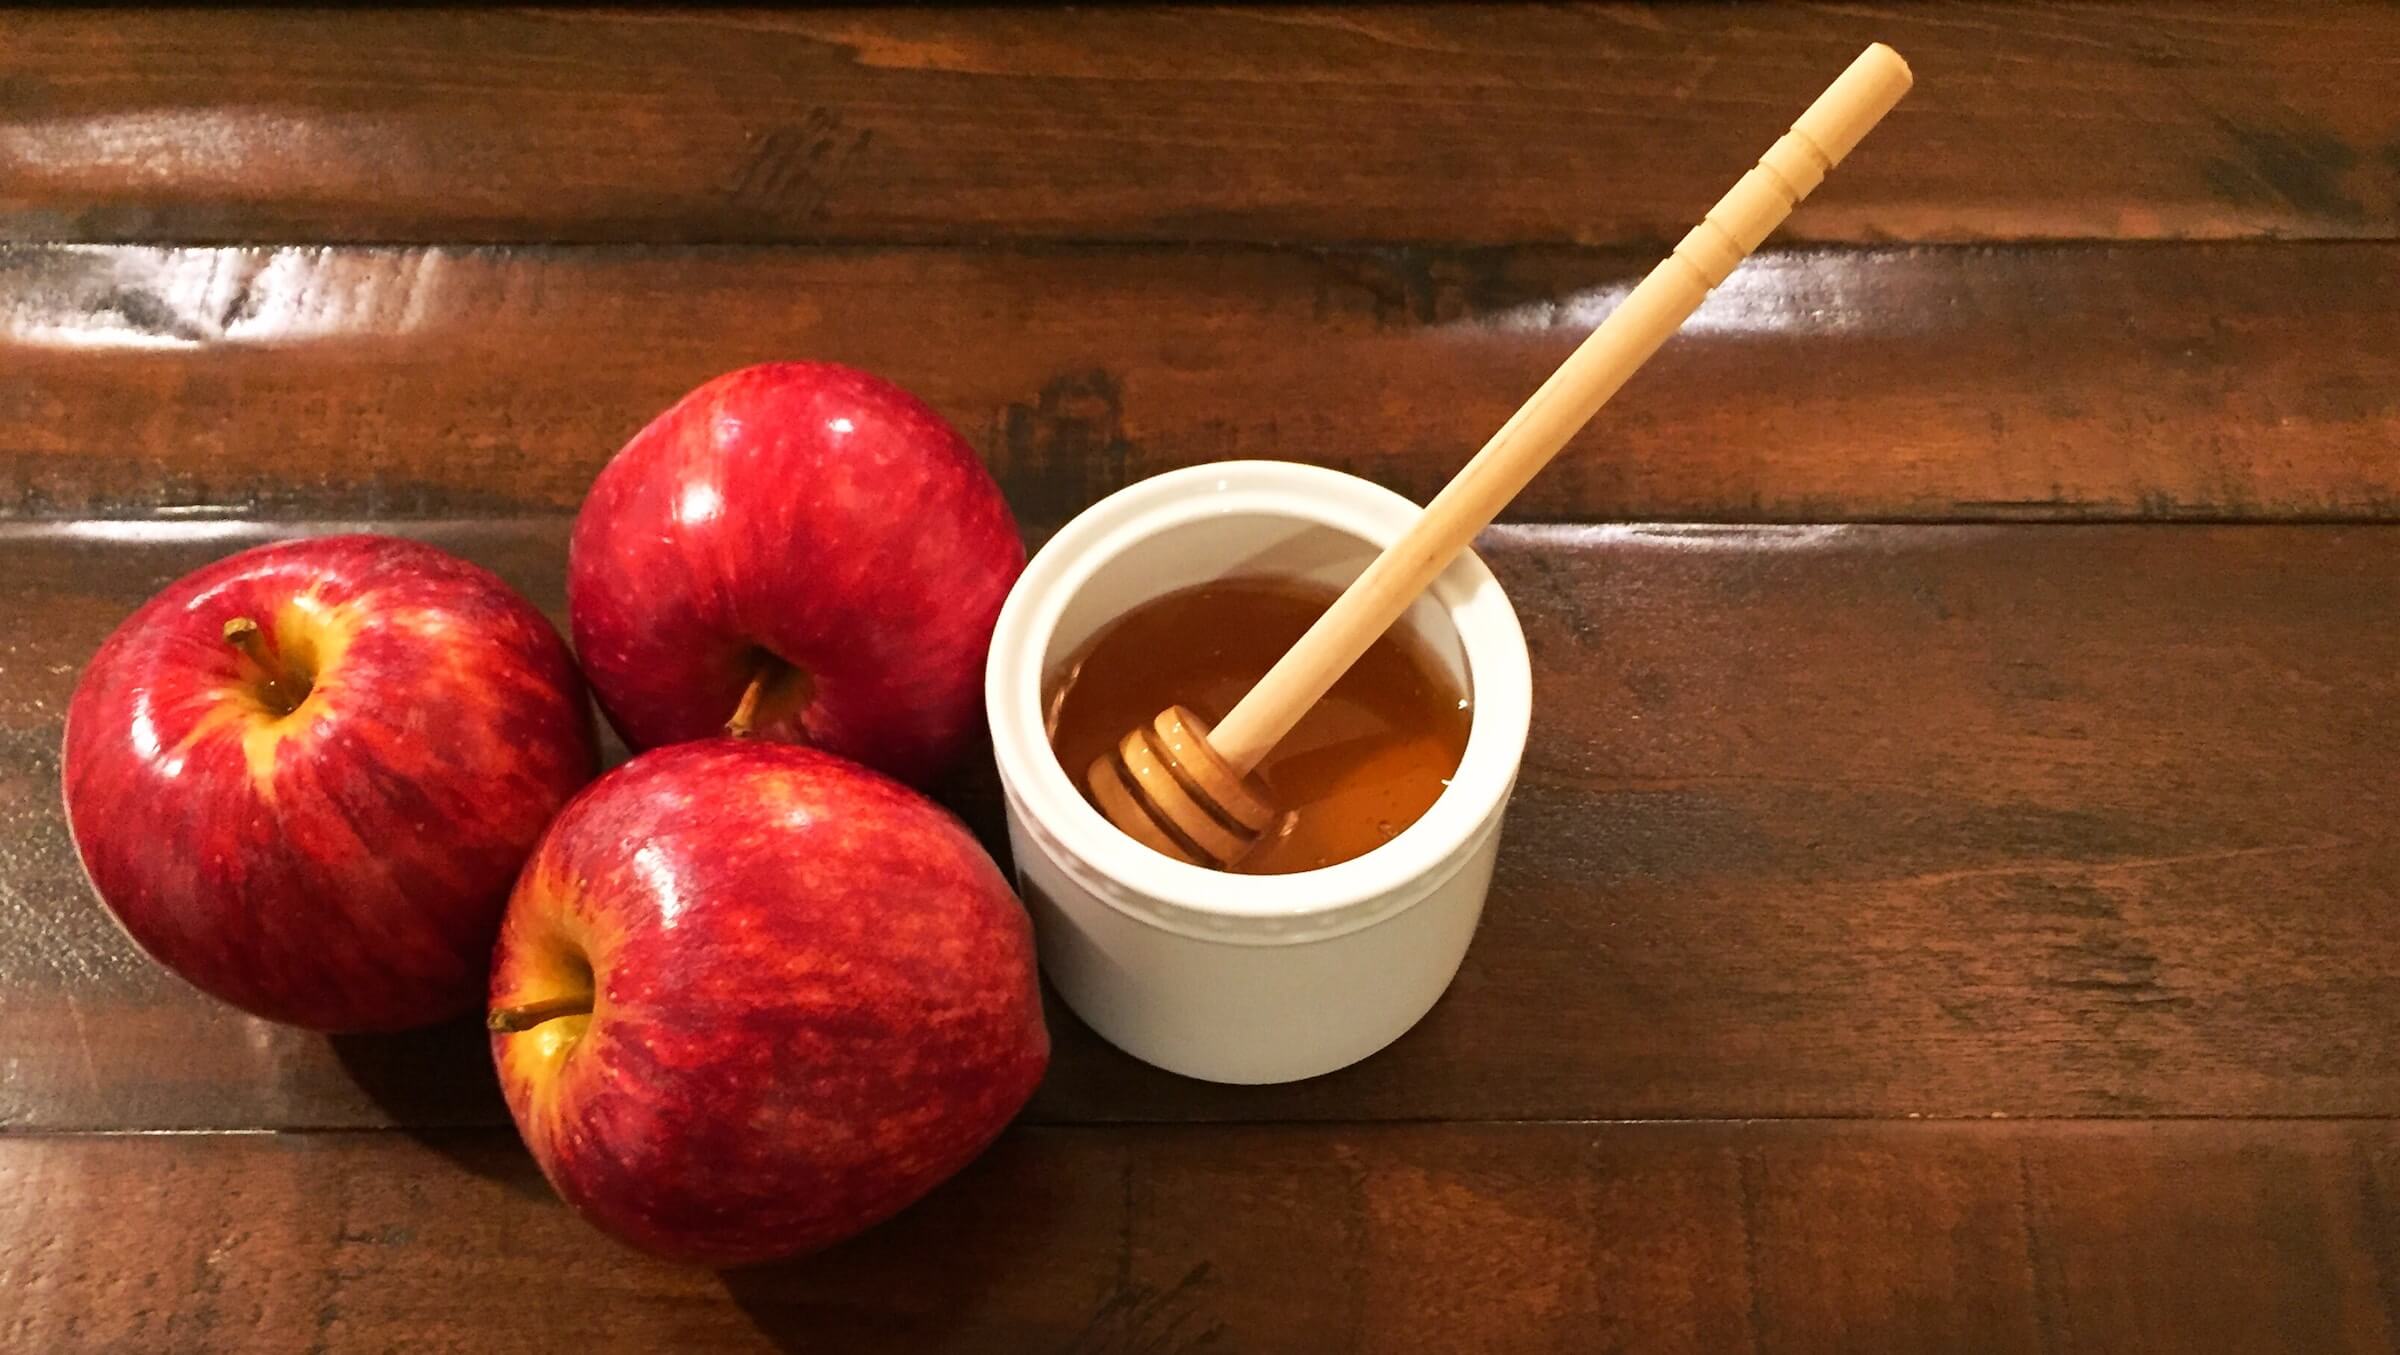
Selecting The Apples
Choosing the right apples for making caramel apples is essential to ensure a delicious and successful treat. Here are some tips on how to pick the best apples for caramel apples:
- Select Firm Apples: Look for apples that are firm and free from soft spots or bruises. Firm apples will hold up better when dipped in hot caramel and won’t become mushy.
- Choose Medium to Large Apples: Medium to large-sized apples are ideal for caramel apples. They provide a good balance between the sweet, crisp apple and the sweet, gooey caramel.
- Consider Tart Varieties: While you can use sweet apple varieties, many people prefer tart apples for caramel apples because they create a nice contrast with the sweet caramel. Some popular tart apple varieties include Granny Smith, Honeycrisp, and Pink Lady.
- Check for Freshness: Freshness is key to great caramel apples. If possible, choose apples from a local orchard or farmers’ market during the apple season for the best flavor and quality.
- Wax-Free Apples: If you’re concerned about the caramel adhering to the apples, choose apples that are wax-free or give them a thorough wash and dry to remove any wax.
- Inspect the Skin: Look for apples with smooth, unblemished skin. While small imperfections are normal, extensive scarring or rough spots may affect the appearance of your caramel apples.
- Avoid Overly Ripe Apples: Overly ripe apples can be too soft and juicy for caramel apples. They may not hold up well during the dipping process.
- Consider the Size: If you plan to make mini caramel apples or caramel apple slices, you can choose smaller apple varieties like Gala or Fuji, which are naturally sweet.
- Personal Preference: Ultimately, the best apple for caramel apples depends on your personal taste. Some people prefer the sharp contrast of tart apples, while others enjoy the sweetness of traditional varieties like Red Delicious or Gala.
- Ask for Recommendations: If you’re unsure, don’t hesitate to ask your local grocer or apple vendor for recommendations on the best apple varieties for caramel apples.
Remember that caramel apples are a versatile treat, and the apple variety you choose can influence the flavor and texture of the final product. Experiment with different apple types to find your favorite combination of caramel and apple goodness. Once you’ve decided on the apples to use, the next step is the other ingredients.
Ingredients
- 6 medium-sized apples (Granny Smith or your preferred variety)
- 1 cup (200g) granulated sugar
- 1/2 cup (120ml) light corn syrup
- 1/4 cup (60ml) unsalted butter
- 1 cup (240ml) heavy cream
- 1 teaspoon vanilla extract
- Wooden sticks or Popsicle sticks for skewering the apples
- Optional toppings: chopped nuts, mini chocolate chips, sprinkles, crushed cookies, or shredded coconut
Directions
- Prepare the Apples:
- Wash and thoroughly dry the apples to remove any wax. This helps the caramel stick better.
- Remove the stems from the apples and insert wooden sticks into the tops where the stems were. Ensure they’re secure.
- Line a Baking Sheet:
- Line a baking sheet with parchment paper or a silicone baking mat. This will prevent the caramel apples from sticking to the surface.
- Make the Caramel:
- In a heavy-bottomed saucepan over medium heat, combine the granulated sugar, corn syrup, and butter. Stir until the sugar has dissolved and the mixture starts to boil.
- Cook the Caramel:
- Once it starts boiling, stop stirring and allow the mixture to cook for about 8-10 minutes. It should reach a temperature of 245-250°F (120-121°C) on a candy thermometer. This is the soft-ball stage.
- Remove from Heat and Add Cream:
- Carefully and slowly pour in the heavy cream while stirring constantly. Be cautious as the mixture will bubble up. Continue to stir until the mixture is well combined.
- Cook to Desired Consistency:
- Return the mixture to the heat and cook for an additional 4-5 minutes, or until it thickens and turns a caramel color. Stir in the vanilla extract.
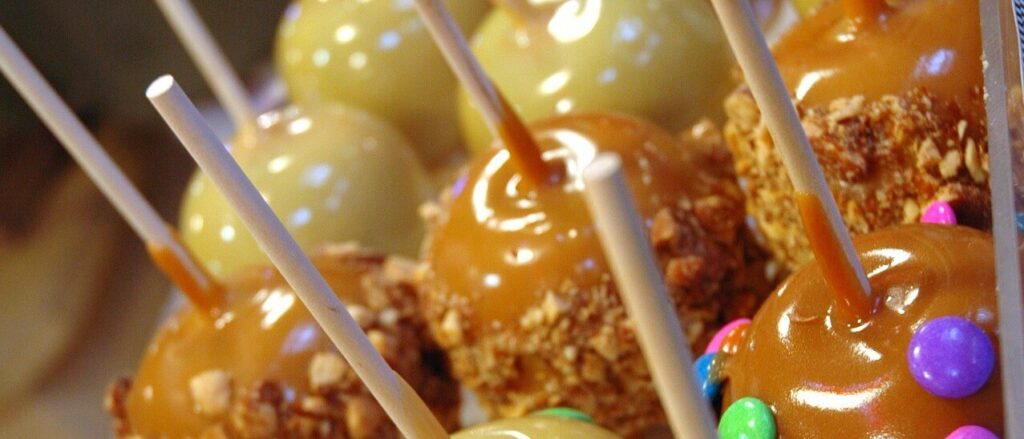
- Dip the Apples:
- Working quickly, dip each apple into the caramel, swirling it around to coat evenly. Allow any excess caramel to drip back into the saucepan.
- Add Toppings (Optional):
- While the caramel is still soft and tacky, roll the caramel-coated apples in your choice of toppings, such as chopped nuts, mini chocolate chips, sprinkles, crushed cookies, or shredded coconut.
- Set on the Baking Sheet:
- Place each caramel-coated and topped apple onto the lined baking sheet to cool and harden.
- Cool and Serve:
- Let the caramel apples cool at room temperature for at least 1 hour, or until the caramel is set and firm. You can also refrigerate them to speed up the cooling process.
- Enjoy:
- Once the caramel is set, your caramel apples are ready to enjoy. Serve them on a stick or slice them into wedges.
Caramel apples are a delightful treat, perfect for Halloween parties or any autumn celebration. Be sure to store any leftovers in the refrigerator to prevent the caramel from becoming too sticky. You’re well on your way to learning how to master the art of creating caramel apples.